

You just unboxed your R36S handheld console. Now what? While the R36S works great out of the box, the right accessories can transform your experience from good to exceptional. Screen protection, storage upgrades, and a solid carrying case are not just nice-to-haves; they are essentials for any serious retro gamer.
In this guide, we cover every must-have R36S accessory for new owners, how to set everything up, and the best practices for protecting your investment.

Essential R36S Accessories Checklist
Here is the ultimate accessory checklist for every new R36S owner:
1. Tempered Glass Screen Protector
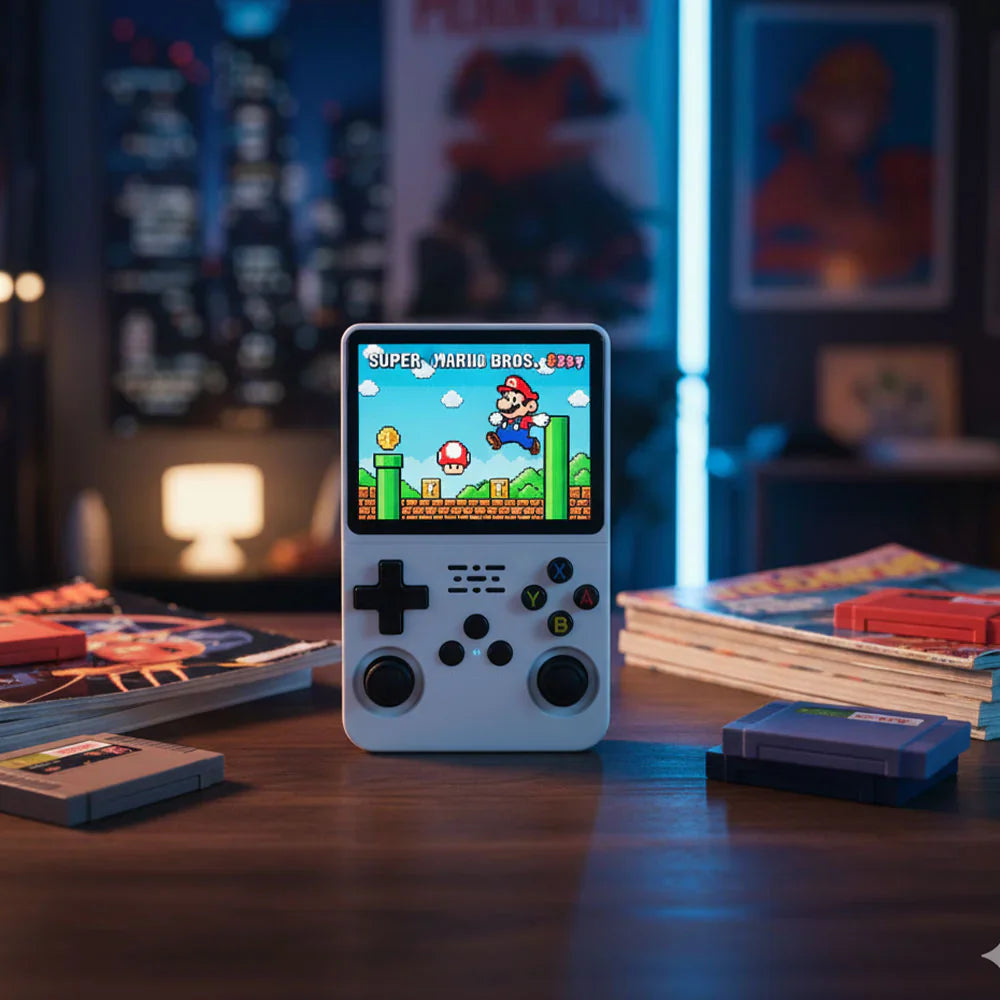
The R36S has a beautiful 3.5-inch IPS display, and you want to keep it that way. A 9H tempered glass screen protector provides:
- Scratch resistance from keys, coins, and everyday pocket debris
- Oleophobic coating that reduces fingerprints and smudges
- Crystal-clear transparency that preserves the IPS panel's vivid colors
- Easy bubble-free installation with included alignment tools
For maximum protection, our Glass+Bag combo bundle pairs a premium tempered glass protector with an EVA storage case at a discounted price.
2. EVA Carrying Case
A portable console needs portable protection. Our EVA hard carrying case features:
- Custom-molded interior that holds the R36S or R35S securely
- Mesh pocket for storing charging cables, extra SD cards, and earphones
- Hard shell exterior that absorbs drops and impacts
- Compact design that fits in backpacks, travel bags, and large pockets
If you prefer a different style, we also offer the R36S/R35S protective case with a slim-profile design.
3. High-Capacity TF Memory Card
The R36S uses a dual-SD card setup: one card for the operating system and one for game storage. Our preloaded TF memory cards are available in multiple capacities:
| Capacity | Approximate Game Count | Best For |
|---|---|---|
| 64GB | 5,000+ titles | Casual retro gamers who focus on 8-bit and 16-bit systems |
| 128GB | 10,000+ titles | Gamers who want PS1 and GBA libraries alongside classic systems |
| 256GB | 15,000+ titles | Enthusiasts who want full system libraries with PSP and arcade games |
| 512GB | 20,000+ titles | Collectors who want every available system fully loaded |
For more details on adding games manually, read our step-by-step guide on how to add games to the R36S.
First-Time Setup: Step by Step
Once you have your accessories ready, follow these steps for the perfect first setup:
Step 1: Apply the Screen Protector
- Power off your R36S completely using the safe shutdown method
- Clean the screen with the included alcohol wipe and microfiber cloth
- Peel the backing off the tempered glass and align it carefully with the screen edges
- Press from the center outward to eliminate air bubbles
- Let the adhesive cure for 30 minutes before use
Step 2: Insert the Memory Card
- With the R36S powered off, locate TF Slot 2 (the bottom slot) for your game storage card
- Insert the preloaded TF card with the label side facing up until it clicks into place
- Power on the R36S and allow the system to scan for new games (this may take a few minutes on first boot)
Step 3: Charge Properly
Before your first long gaming session, fully charge the R36S using the included USB-C cable. For detailed charging instructions and battery tips, see our guide on how to charge the R36S.
Step 4: Update Firmware (Recommended)
The R36S ships with stock firmware, but upgrading to ArkOS or ROCKNIX custom firmware dramatically improves performance, adds new emulators, and provides a more polished user interface. The R36S does not have built-in Wi-Fi, but you can learn about connectivity options in our article about R36S Wi-Fi capabilities.
Pro Tips for New Owners
- Always use safe shutdown – Never just press the power button. Use the menu option to prevent SD card corruption. See our safe shutdown guide.
- Keep a backup of your OS card – Use Balena Etcher to create a backup image of your working OS setup.
- Adjust display brightness – Lowering brightness extends battery life significantly during long sessions.
- Organize games by system – Keep ROM files in their correct system folders for the best browsing experience.
Upgrade Paths for Power Users
Already mastered the R36S? Here are your upgrade options:
- R36S Plus – 4-inch screen with built-in Wi-Fi for easy firmware updates and game art downloads
- R36PRO – Enhanced processing power for smoother N64 and Dreamcast emulation
- R36MAX – Larger display and premium build quality for extended gaming sessions
- R40S Pro – Our most powerful handheld with improved PSP and Saturn emulation support
Browse the full handheld emulator collection to compare models side by side.
Frequently Asked Questions
Can I connect the R36S to my TV?
Yes! Check our detailed tutorial on connecting the R36S to a TV for step-by-step instructions.
Where is the best place to buy the R36S?
We recommend purchasing directly from our store for warranty support and quality assurance. Learn more in our article on where to buy the R36S.
How do I factory reset my R36S?
If you run into any issues, our guide on how to factory reset the R36S walks you through the entire process.
Ready to gear up? Start with the Glass+Bag protection bundle to keep your R36S in pristine condition, and explore our full range of retro gaming handhelds and accessories.